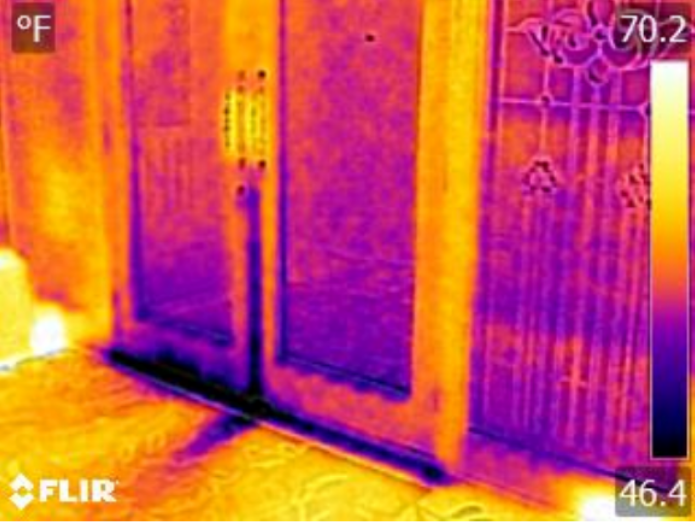
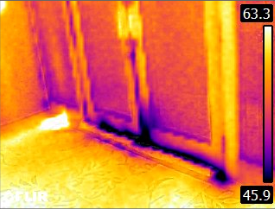
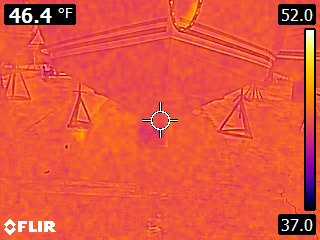
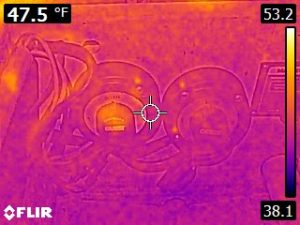
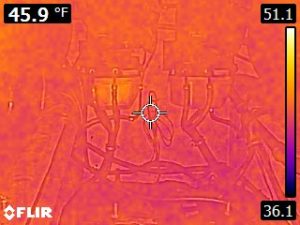
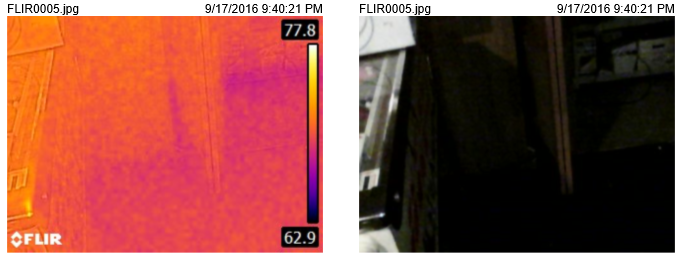
Heating and Cooling bills can be high. The old cliche that “rates are going up” is probably more alive now than ever. This experiment shows a front door with “normal” rubber weather stripping allowing cold air into the home under the front door. With the leak draft stopper on the 2nd image it appears to have slowed the draft problem. I think more can be done to stop it. Our next experiment will be to move the draft leak stopper from inside to the space between the door and screen door. We will be updating on the findings next week! We hope you stay tuned!!
Front Door without “Leak Draft Stopper”Door with Draft Leak Stopper placed inside of the Home
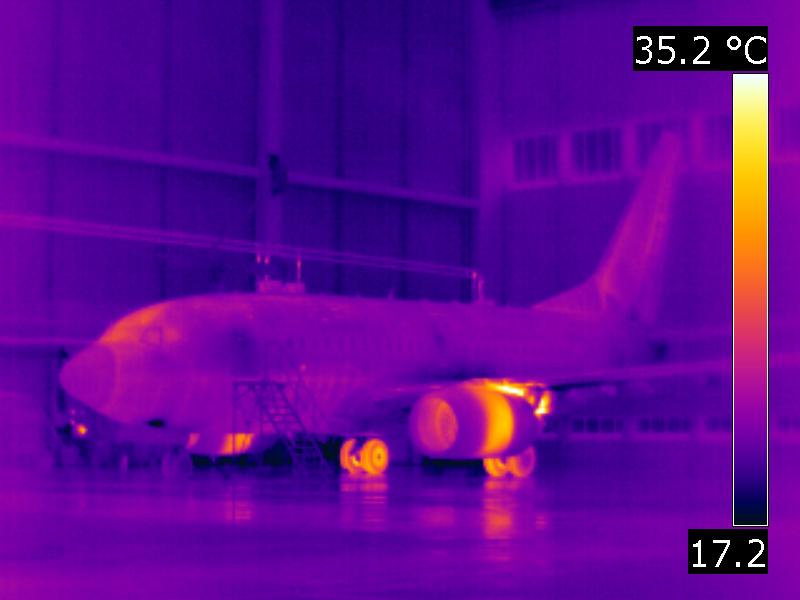
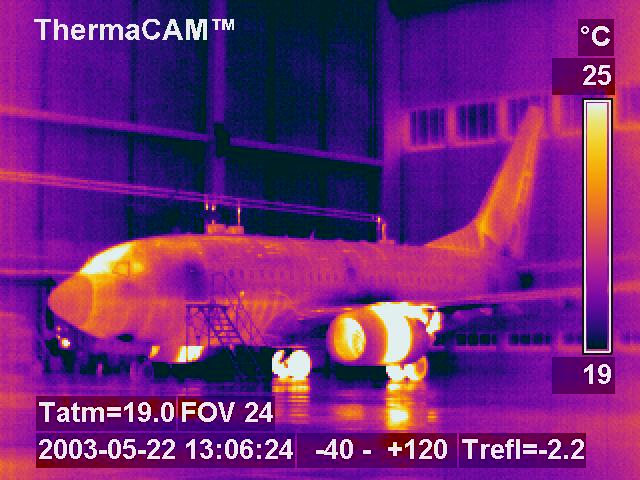
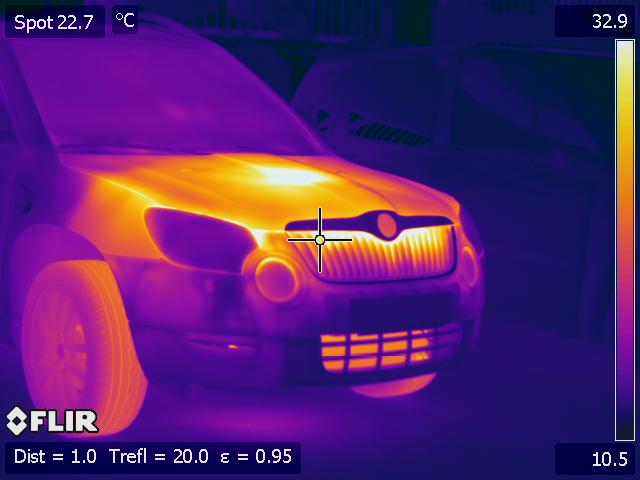
While we can not take credit for these thermal images we found them to be a very interesting image that you might not see every day.
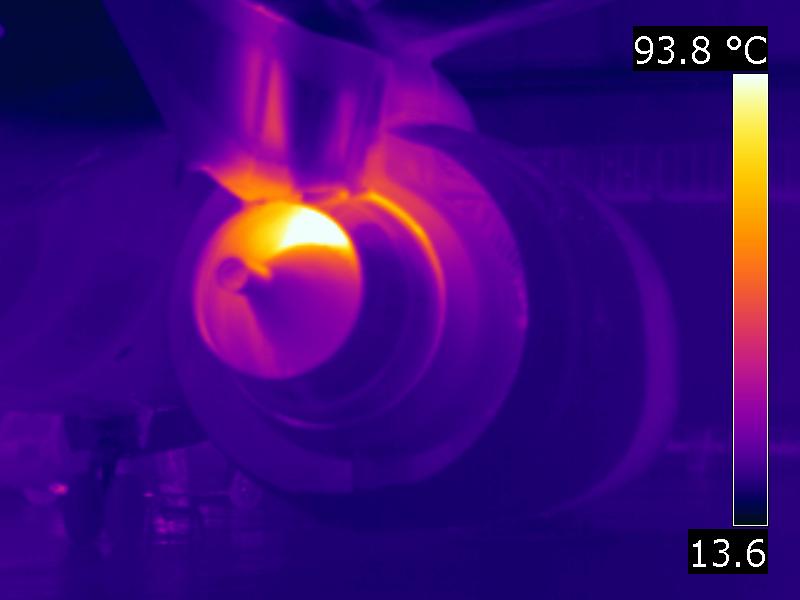
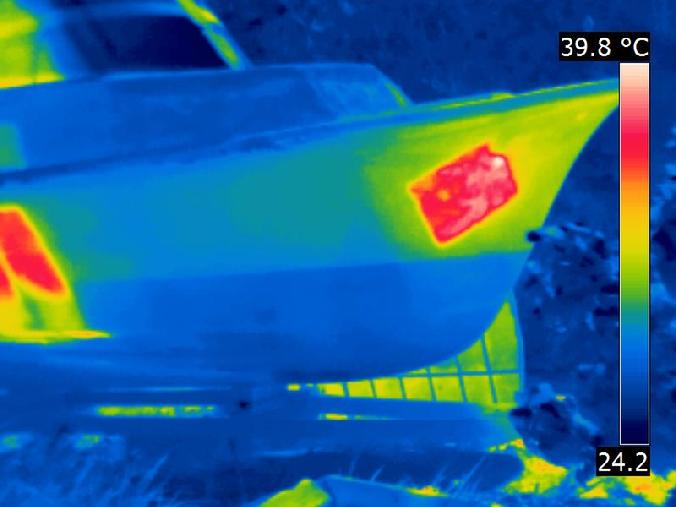
The windshield may not be as warm as it appears. The reflection of heat from another source OR the outside MIGHT be casting an ominous reflection of another heat source. The engines are hot and the wheels are too!Airplane with hot jet engine.Jet engine seen in infrared.
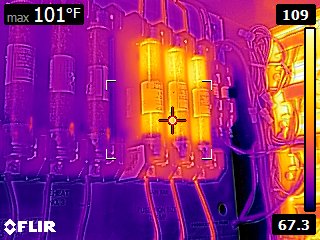
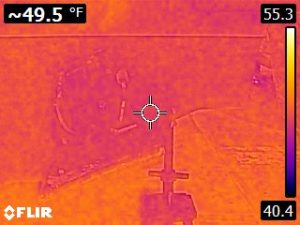
Well it isnt exactly Tool time, or miller time. Its the back of a Neon bar sign from a “man cave”. The Outer squiggle lines spell out (backwards) MGD and the heat bloom to the right of the measure point is the transformer heat signature after warming up. The sign is working properly. We thought this would simply look neat as a thermal picture.
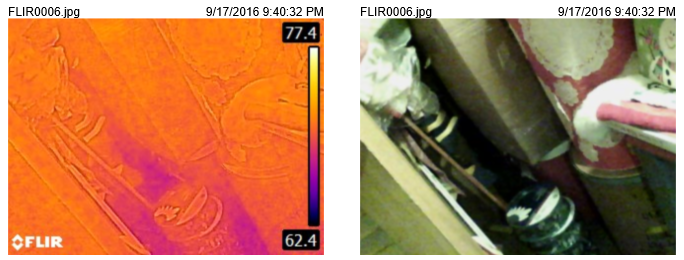
After much of the mess having been cleared up dampness was found in the walls and baseboards.
Below is evidence of water already creeping up the height of the walls roughly 3.5 feet.
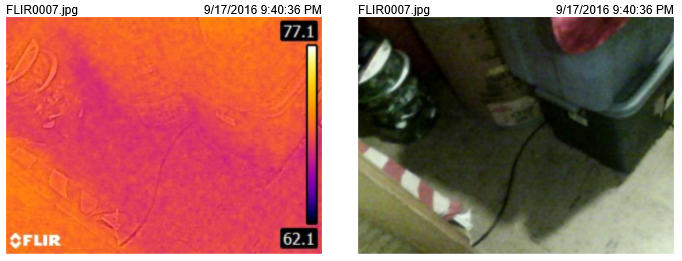
Water can be seen in some of the stored items in this utility room.
The floor is still cooler where the water was at 3 days after disaster restoration professionals showed up.
Ultimately, the before pictures (not listed) and the post devastation imaging (specific image not listed) was used by the home owner to prove the damage and assist the contractors in the repairs of this home.
The following Image is the 12 Volt Main Switches. The Left switch is located on the Starboard side of the boat and shows heat. Its not enough to create a work order for but we know what systems were on and now where those systems are routed to.
Power Swith in lighter orange is warm showing power running through it.
The Trim pumps shown here are showing warmer fluid in the left (starboard) unit.
Left Trim Pump is Warm
The cooler area is the missing starboard out drive. The bar to the right in the verticle orientation is one of the stands this vessel is sitting on.
In this picture we are standing in front of the boat on the ground shooting backwards into the hull. The Keel blocks are cool as they are having weight pressed upon them and they leach out water. The hull looks unremarkable. No evidence of the hull holding water.
Unable to perform the following testing as the vessel was already winterized and the order did not arrive until the boat was laid up for the winter (in North East Ohio). Our findings show that the hull is in good working order. We found no evidence of water in the hull or electrical problems we will be presenting this client in the report.
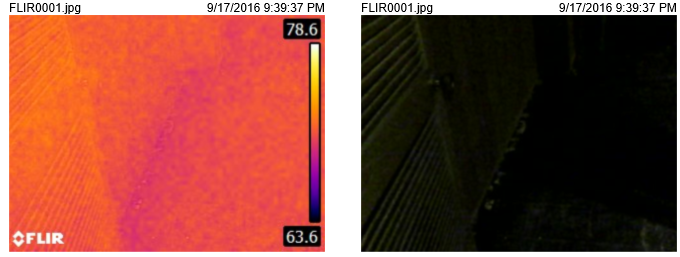
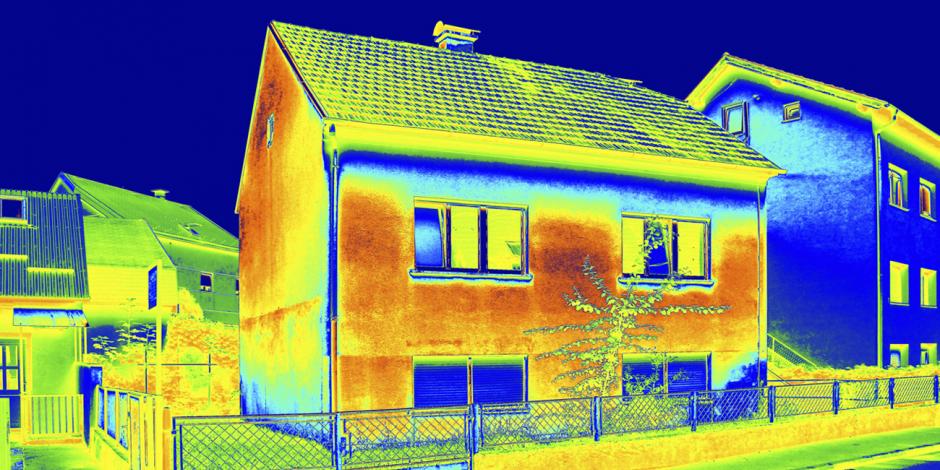
Thermal images of the home can give you a full picture of water damage, electrical issues, HVAC status and more. Here are a few examples of what to expect with a home thermal image inspection report.
The images show a storage room with damp edges. The box on the right of the image has also suffered water damage.
As we progress into the development of our website and business we look forward to you help in letting us know how we can best serve you! Please send ANY suggestions to info@ThermalImageCleveland.com